Pastel Pethas!

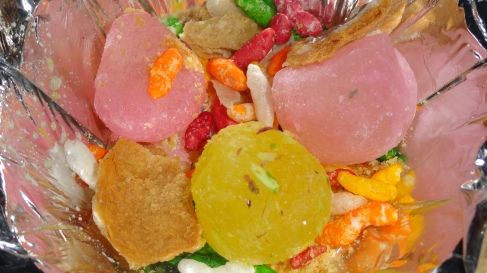
Well I have been on a hiatus because of my exams(wish i had spent time blogging though coz anyways this time my exams were just a lil less than terrible.) And I am short on time(courtesy: family functions) so a very quick post. This is something I ate yesterday. Not made by me, these pastel beauties are a type of sweet dish made from pumpkin and sugar syrup. Often flavoured with saffron or rose water it’s transluscent and ofcourse food colour is addd for those pretty shades. They are supposed to be better alternatives to traditional heavy sweets(like calorie wise) and have a damn long shelf life(which is directly proportional to HowOftenYouEatIt.)

Image

Pictured: Pastel Petha, coloured rice puffs and the brown thing is sweet mathree.


Easter and Healthy Burgers!

Easter says you can put truth in a grave, but it won’t stay there. ~Clarence W. Hall

Adding a quote that probably crops up first if you Google ‘Eater quotes’ is not because I was being lazy but is because this was one of the most meaningful quotes I have read about Easter. Truth sooner or later, finds a way to the surface and fizzles out creating an effect similar to what happens when you shake your pepsi or coca cola and force it to fizzle out.

So to celebrate the resurrection of Christ I made these healthy burgers. The words ‘healthy’ and ‘burgers’ are together because well the patty is stuffed with a mix of vegetables that take care of your nutritional requirement per meal. This recipe should help you make 8 full patties/fillings. So here we go without much ado.

INGREDIENTS:

For the Patty :

Soya Granules – 1.5 cups (soaked in about 3 cups of water )

Potatoes – ½ kg (boiled and mashed)

Onion – 2 large, finely chopped (3/4 cup)

Capsicum – 1 large, finely chopped (1/2 cup)

Corn – 1/2 cup

Bread – 4 to 5 slices

Garlic Flakes – 3-4, crushed

Green Chillies – 3 to 4, finely sliced

Corn flour – 1 tbsp

Garam Masala – 1.5 tsp

Salt – 1.5 tbsp

Red Chilly Powder – 1 tsp

Oil for frying

For the Layering:

Onion – 3 , thinly sliced

Burger Buns – 4 pairs

Burger Mayonnaise

Tomato – 3, thinly sliced

(Please feel free to increase the number of tomatoes and onions you want to use for the layering.)

METHOD:

1. Soak the soya granules in water.

2. Heat oil for frying in a pan.

3. By the time soya soaks water in a bowl mix mashed potatoes, corn, capsicum, onion and crushed garlic to it.

4. Wet 4-5 slices of bread, crumble those and add to the mix.

(NOTE: Do not wet the bread so much that it drips with water. Wet it enough that it can be easily crumbled.)

5. Add the soya granules to the mix followed by the addition of corn flour.

6. Also add the green chillies, garam masala, salt and red chilly powder to the mix.

7. Give the ingredients a good mix. Divide the dough into 8 equal parts and shape these into patties.

8. Fry the patties on medium heat.

(NOTE: It’s a good idea to keep the fried patties on sheets that absorb oil.)

9. Spread burger mayonnaise evenly on the base and top buns of the burger. Layer tomatoes, onion slices (and lettuce too if available) below and over the patty.

10. Serve with strong mustard and ketchup.
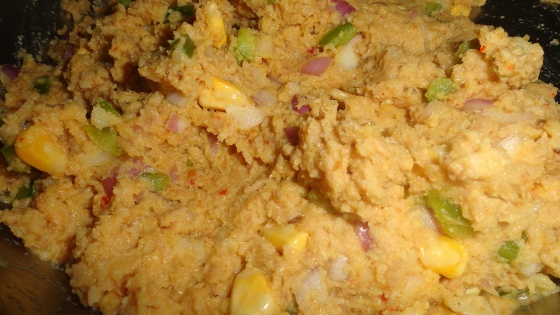
The Patty Dough.

The Patty Dough.


Patties, our star of the show.

**~~~~~~~~~~~~~~~~~~~~~~~~~~~~~~~~~~~~~~~~~~~~~~~~~~~~~~~~~~~~~~~~~~~~~~**

THINGS I LEARNT TODAY:

1. I felt that these patties turned out to be crispier than the regular potato ones.

2. Also if you have enough time in your hand then refrigerating the patties for about 1.5 to 2 hours would be great as it sets the patty well and chances of it bursting or disintegrating while frying is minimised.

3. Leftover boiled potatoes from Saturday night and bread was well taken care of and I say it again it truly is healthier than your regular burgers.


Love!

😀
Soya Peas Mash

The week’s just been super busy and thus I couldn’t find time to actually cook something. I have been loaded with so many assignments + my exams are a little more than a month away + I have class tests to study for and at this very point of time when I have so much to do, suddenly the primary thought that seems to occupy my mind is entertainment. Huh! Some of the most interesting stuff seems to be happening right now like the Jazz Festival or an opportunity to teach kids. I most definitely am not going to be given a chance to attend either and I am not a fan of sitting and sulking so well I stay inert(in a good way) watching life pass by. Well today I bring something that I love to eat(I love to eat everything, don’t I, sucha cow one must think I am). This time it’s the Soya Peas Mash because it’s been long since I had soya and I had been really missing it. I’ll tell you beforehand though that it’s a ‘sabzi’ (dish savoured with breads or rice) made with Indian spices. I have mentioned the Hindi and English names of all the spices that will be used(Sorry my linguistic capability is limited). Easy to cook with the goodness of Soya what more would you want?

INGREDIENTS:

Nutrela Soya Granules – 250 gm

Peas – 150 gm

Onion – 2 big and chopped

Tomato Puree – 100 gm + 2 tbsp for 8th step

Cooking Oil – 1 tbsp

Cumin Seeds – ½ tsp (Zeera)

Red Chilly Powder – ½ tsp (Lal Mirch Powder)

Turmeric – 1 tsp (Haldi)

Dry Coriander Powder – 2 tsp (Dhaniya Pisa)

Dry Mango Powder – 1 tsp (Amchoor)

Salt – 2 tsp or according to taste

Water – 1 cup

Garam Masala – 1 tsp ( Garam Masala is an aromatic mixture of cumin, coriander, cinnamon, cardamom, cloves and Indian bay leaves. )

METHOD:

1. Soak soya granules in water. (Move forward with the recipe and let the soya soak water.)

2. Heat oil in a pan and add cumin to it. Fry for 30 seconds.

3. Add onions and fry till they turn transluscent.

4. Add tomato puree(save 2 tbsp of it for later), red chilly powder, turmeric, dry mango powder and dry coriander powder to the pan. Stir fry for 3-5 minutes on medium heat.

5. About time to remove soya from the water. Soak excess water and add soya granules to the pan. Stir well on medium heat.

6. Add peas and salt to the pan and mix well on medium heat.

7. Add water to the pan and cover the pan for 10 minutes on low heat.

8. Remove the cover from the pan and stir in 2 tbsp tomato puree.

9. Again cover it for 5 minutes on medium heat.

10. Remove from heat. Add garam masala to the pan. Mix well.

Serve!

Pictures below :


(The difference between the last image and the one above it is that the last image is the final product while the one above it is what you get after, let’s say after you complete Step 7.)

**~~~~~~~~~~~~~~~~~~~~~~~~~~~~~~~~~~~~~~~~~~~~~~~~~~~~~~~~~~~~~~~~~~~~~~**

THINGS I LEARNT TODAY:

1. Please take average size big onions and not gigantic big ones.

2. There is no particular measurement of water for soaking the soya granules just remember the water should be an inch above these granules.

3. I really wanna say random stuff but since I am supposed to lie inert I wont and I’ll just quote Rumi, “You think because you understand ‘one’ you must also understand ‘two’, because one and one make two. But you must also understand ‘and’ .”

😀

Love!

Sugar Grazed Tomatoes & Vegetable Aata (Wheat) Maggi

THIS IS A REPOST OF THE POST ON 6, MARCH 2012 WHICH I ENDED UP VERY STUPIDLY DELETING FROM MY BLOG, NONETHELESS IT’S A PROOF OF HOW BIG AN IDIOT I CAN BE.

😥

So my mother feels that I purposely took up blogging about cooking, so that I may get to waste a lot of time on the internet, get to cook and get to click pictures. This all simply translates into getting to waste time LEGITIMATELY. Such an awesome thinker my mom is and so right are her insights about me, but then again she is the Big M, the Mother ofcourse! Since I really want to continue blogging I will refrain from ruffling my Big M’s feathers too much and post a very simple yet tasty recipe today.

Ingredients:

Vegetable Atta Maggi – Individual pack (Even plain maggi or Wai Wai works)

Water – 1 1/2 cups

Capsicum chopped – 1,big (You can add any vegetable you want)

Onion chopped – 1,big

Garlic finely chopped – 3 cloves (optional, I love the flavour of garlic)

Oil – 2 drops. literally

Extra Maggi Masala – 1 pack (Rs. 3 per pack)

Tomato – 1

Sugar – 1 tbsp

Salt – A pinch (if you dont like )

Sliced Chilly – For Garnishing (Optional)

Tomato Ketchup – Strictly for aesthetic purpose (Optional)

LETS START

1. Add the oil to a pan. Add Garlic to it.

2. Add water to the pan. After it boils, add the Maggi cakes to it. Add the Masala and the Extra Masala to it.

3. Add the Veggies to the pan when the Maggi is half done.(If like me you like your veggies Crunchy else add them at Step 2. itself.)

4. While the Maggi is being cooked, cut the tomatoe into 2 halves and slice it further to create thin slices.

5. Pour sugar over these slices and add a pinch of salt to prevent them from oversweetening. Keep this in a vessel separate from your final vessel as tomato will lose some water. Also slit your chillie from the middle.

6. Grease a Bowl and once your maggi is done. Press the Maggi into the bowl.

7. Take the plate you would like to serve this in. Turn the bowl containing Maggi upside down on the plate to get your Maggi in a dome shape. Place the tomatoes next to the Maggi. Garnish using chillie and ketchup.


Love,


😀

Hale n Hearty Chinese Stew/Soup

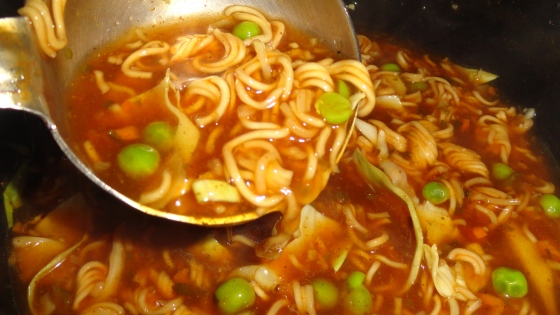
Since the past two days I have been sick nursing a broken/pining heart and umm…I have also been in pain(Yes the pain!that pain). Not much eh? Yeah actually I guess considering the bigger problems the world is facing like Syria. So as I didnt really have much energy to cook something Big or Mindblowing and I wanted to have some heartily heavy stew/soup, I ended up making some Delicious mish mash packet food. So without blabbering any further let’s begin:

INGREDIENTS:

Knorr Hot & Sour Chinese Soup – 1 pack

Wai Wai noodles – 1 pack

Fresh Cabbage – 3/4 cup

Peas – 1/2 cup

You can also add carrots, french beans or any other veggie you prefer.

METHOD:

1. Start preparing the soup as according to the instructions on the pack. As soon as it starts boiling add the Wai Wai with it’s condiments and the vegetables to it. (You dont need to add any extra water).

2. Simmer for 8-10 minutes.

3. Remove from fire and Eat!

**~~~~~~~~~~~~~~~~~~~~~~~~~~~~~~~~~~~~~~~~~~~~~~~~~~~~~~~~~~~~~~~~~~~~~~**

THINGS I LEARNT TODAY(or I have always known):

1. I barely eat packet food without making changes to it.

2. This almost killed my pain as if it had never existed in the first place.

3. It’s OK to take a shortcut if you are hungry and sick and heartbroken and if it actually helps with any of the three(helped with two in my case) then dont feel bad about it.

P.S. Ahem about the Broken/Pining Heart, there was or is NONE rather a pretty shady effort from my side (Sorry 😛 ) to gain some sympathy and bail myself out from the recipe I just posted. (LAME MEME ALERT : I dont always post lousy recipes, But when I do i make sure I put a non existent broken heart as an excuse). But you have to admit that the recipe was creative, time saving and a great way to get maximum nutrition out of those veggies. And well the Uni reopens tommorow so well well well.


Love,


😀

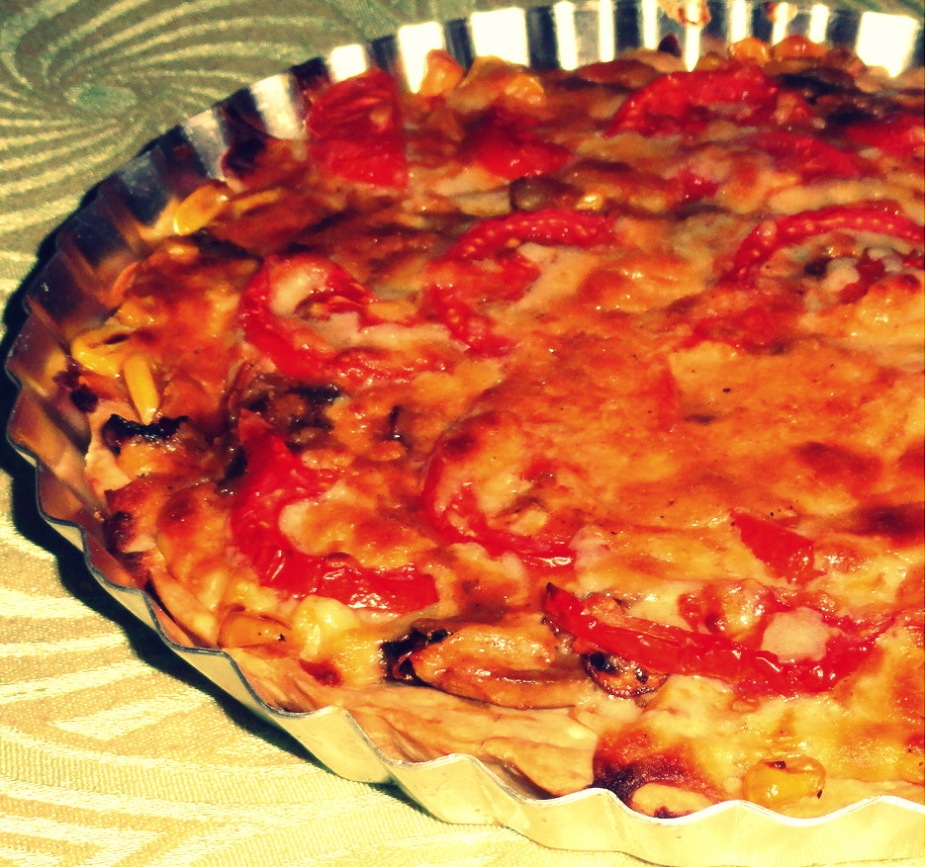
Corn & Mushroom Quiche

Happy Holi everyone(I know it’s a tad bit too late to wish anyone now).

Well I wasnt in the mood to play Holi(the mood’s been like that since the past 4 years) so well I thought I would rather do something productive and bake a quiche. I have never ever made a pie crust before. EVER. I apologise for not clicking better pictures(Read : More Appealing). So let’s get started.

INGREDIENTS For Preparing the Base:

For The Crust/Base:

Melted Butter – 1/3 cup

Plain Flour – 1 1/2 cups

Water – 3 tbsp

Cheese – 1/4 cup, grated

METHOD For Preparing the Base:

1. Combine the butter and flour, rubbing until it looks like bread crumbs.

2. Add cheese to this mixture.

3. Add enough water to bind the mixture.

4. Knead it lightly so that a firm dough is formed.

5. Press the mixture into a buttered 9 inch quiche or pie tin.

6. Prick with a fork all over to avoid the crust from puffing up during baking.

7. Bake the quiche crust in a hot oven (200’C/390’C), for 15-20 mins. until golden brown. Leave it to cool.

INGREDIENTS For Preparing the Filling:

Cooked Corn – 1/2 cup

Mushrooms – 75gm OR 3/4 cup, sliced finely

Butter – 1/2 tbsp

Pizza Cheese / Cheddar – 150gm OR 1 1/2 cup

Cream – 3 tbsp

Tomato Puree – 1 tbsp

Cornflour – 1 tbsp

Salt – 1/2 tsp

Ground Pepper – 1/4 tsp

Dried Basil OR Dried Oregano- 1/2 tsp

Tomato – 1, medium size, sliced into thin rings & cut into half

METHOD For Preparing the Filling :

1. Heat butter in a pan. Add mushrooms and cook till they turn dry.

2. Add corn to the above. Cook for 30 – 45 seconds. Turn off the heat.

3. Take a cup and mix together cream, tomato puree, cornflour, salt, pepper and oregano OR basil. Keep aside.

4. Spread the corn and mushroom mix prepared in Step 1. on the cooled Base/ Crust.

5. Sprinkle 1 cup grated cheese on it.

6. Spread the cream mixture on the cheese.

7. Place tomato slices on top and sprinkle the remaining (1/2 cup) cheese over it.

8. Bake in a preheated oven set on 190’C/375’C for about 20 mins. or till it turns golden.

9. Let it cool before slicing.

Image

**~~~~~~~~~~~~~~~~~~~~~~~~~~~~~~~~~~~~~~~~~~~~~~~~~~~~~~~~~~~~~~~~~~~~~~**

THINGS I LEARNT TODAY:

1. Cooking time varies from oven to oven. Mine took 26-28 mins. as my oven is Slow.

2. Keep people hungry for too long and they will snatch the dish before you can slice it and prevent you from clicking pictures.

3. Why is that Filling called a Filling and not a Spread or Topping? Isnt a ‘Filling’ supposed to be filled?

😀

Love!

Gond Kopra Barfee (Gum Resin and Coconut Sweet)

GoodEvening! It’s a shame that I couldn’t post something more interesting than an abstract of words yesterday. So here am I with a recipe for a sweet dish(technically this is the first post after that abstract so what’s better than ‘Koi bhi shubh kaam karne se pehle meetha khana chahiye’) that involves Coconuts, Gum Resins and Melon Seeds. Let’s begin without further ado:

INGREDIENTS:

Gond or Gum Resin – 1/2 cup

Grated Dry Coconut – 1 whole or 2 1/3 cups

Melon Seeds – 1/3rd cup heaped

Khoya/Mawa or Dried Whole Milk – 150gms

Sugar – 1 1/2 cups

Ghee – 2tbsp

Water – 1/2 cup

METHOD

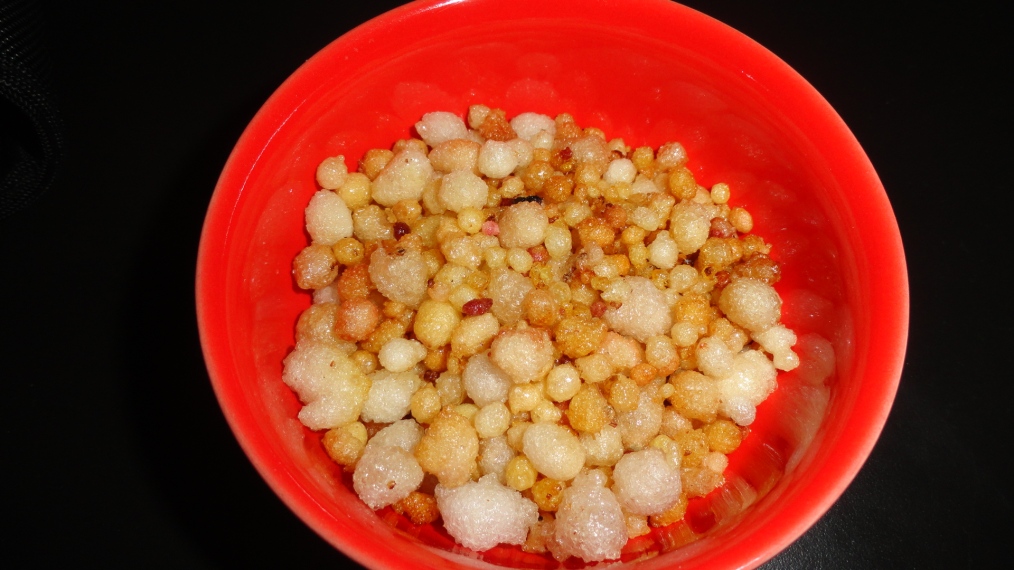
1. Take a deep pan and dry roast Gond(Gum Resin).

2. Heat 1.5tbsp Ghee in a pan and deep fry the Gond(Gum Resin) you just roasted. Once done keep aside in a bowl. (Final image BELOW )

Image

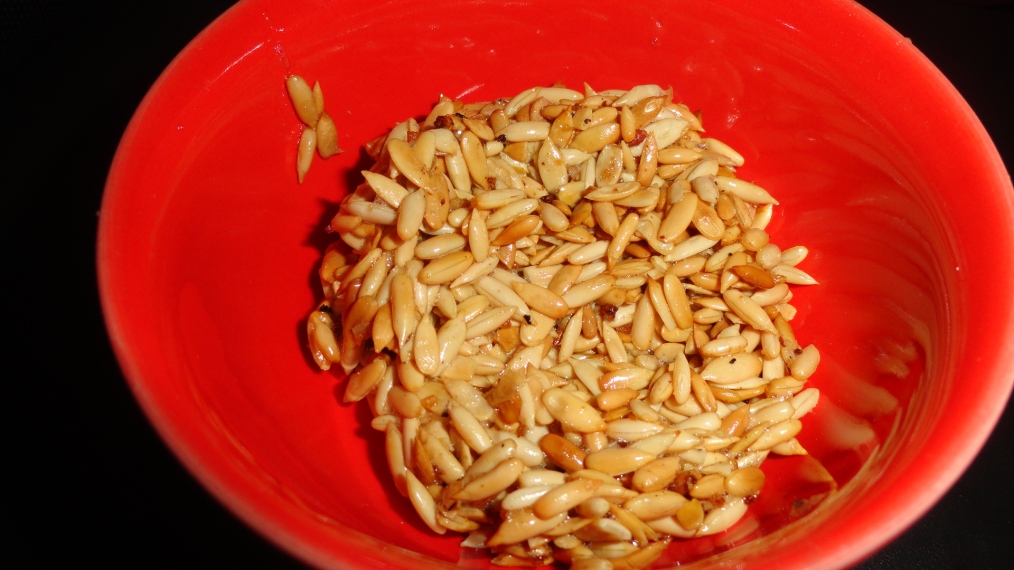
3. Use the leftover Ghee in the pan to sweat the Melon Seeds.  Should be about 1 to 1.5 mins. on high flame. Once done, keep aside in a bowl. (Final image BELOW)

Image

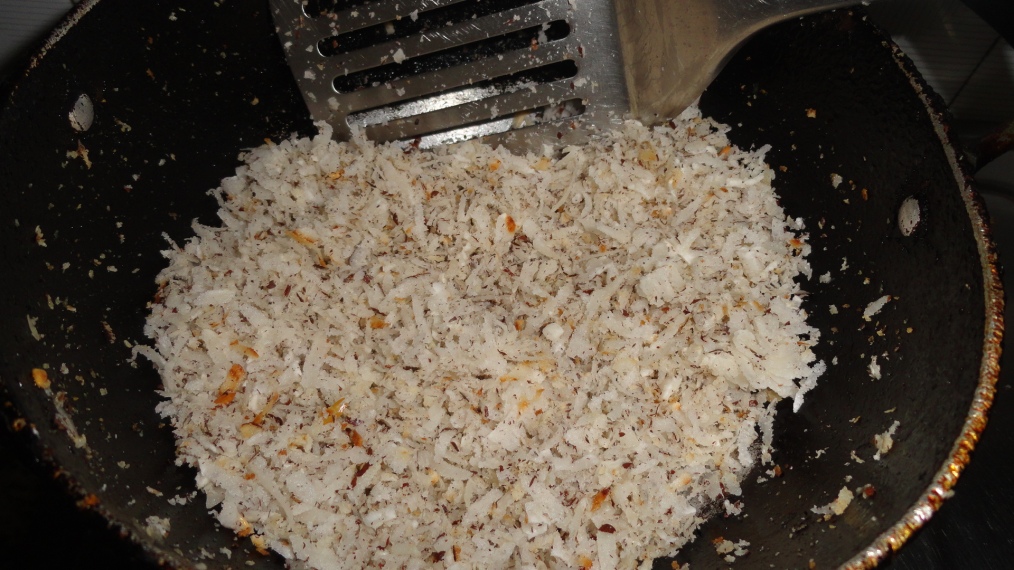
4. Add the grated Coconut to the pan. (By now very little amount of Ghee is left and Coconut itself contains oil so you can either Dry Roast the coconut or choose to add it to the leftover Ghee in the pan). Dry roast the Coconut on low flame for 3 mins. followed by roasting it for 1 min. on high flame. Roast it enough to get little brown specks here and there. DO NOT CHANGE IT”S BASIC WHITE SHADE. (Final image BELOW )

Image

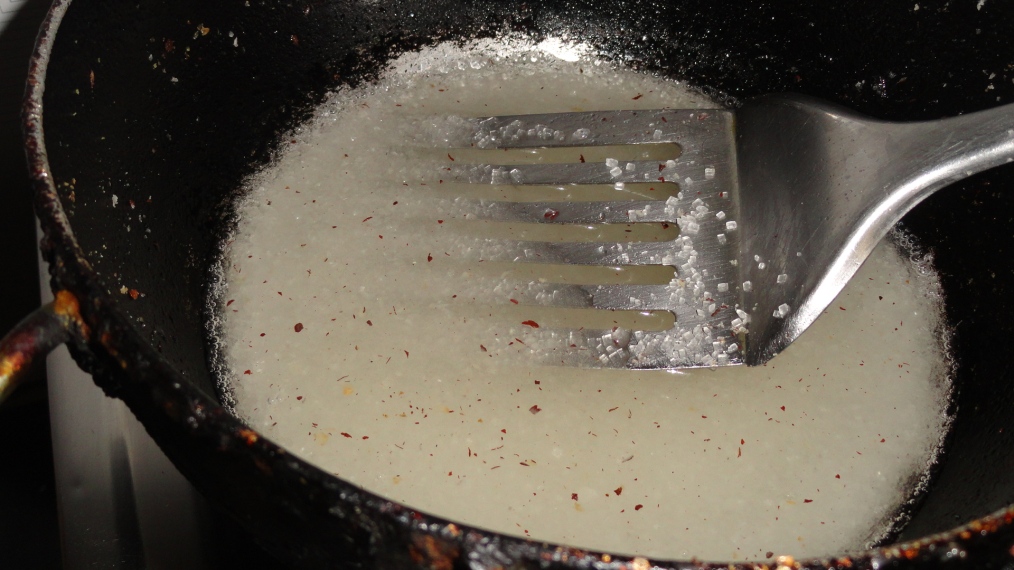
5. Now we need to make the Chashni or the Sugar Syrup that will provide the required sweetness and bind all these ingredients together. Add water and sugar to a pan(you are completely free to use the one you used for the above steps. No washing required). (Final image BELOW )

Image

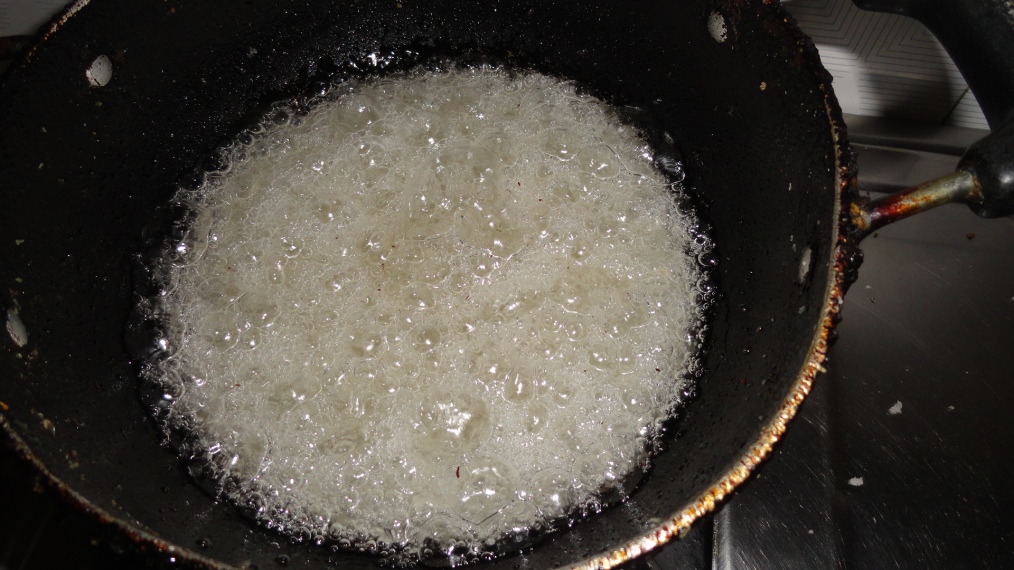
6. Keep on stirring the mixture on a high flame. Gradually you’ll see it become frothy. (Final image BELOW )

Image

THE NEXT STEP IS EXTREMELY IMPORTANT AND SHOULD BE UNDERTAKEN WITH CARE

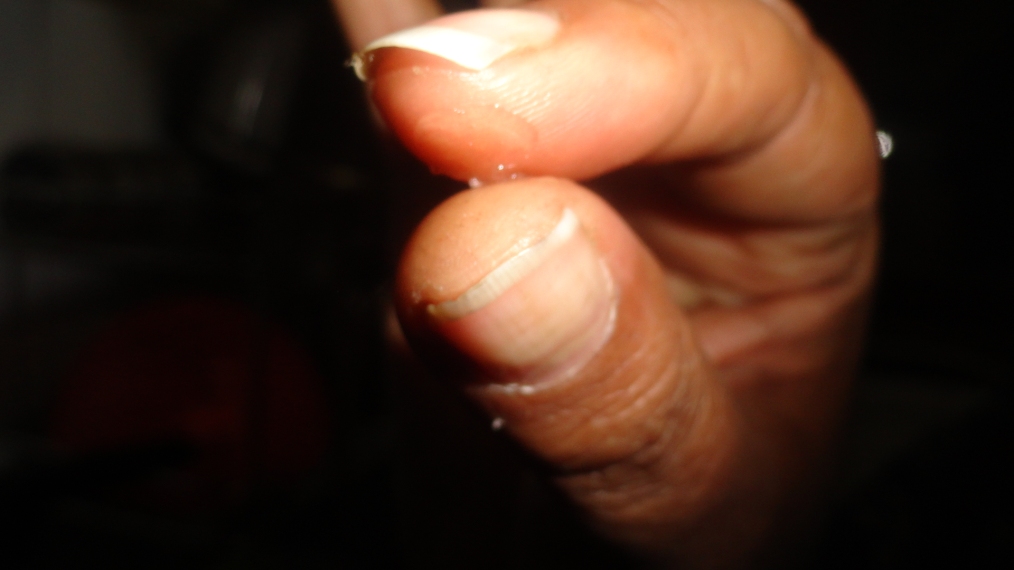
7. You must be wondering for how long it has to be heated. As soon as it becomes frothy, take a few drops of the Chashni or Sugar Syrup on any surface other than your hand. As soon as those drops are cool enough to touch take it between your index finger and thumb and press. It should be STICKY. Do this with the same drops thrice. If all the three times it’s same then Bravo! your Chashni is done. Turn off the heat. (Final image BELOW )

Image

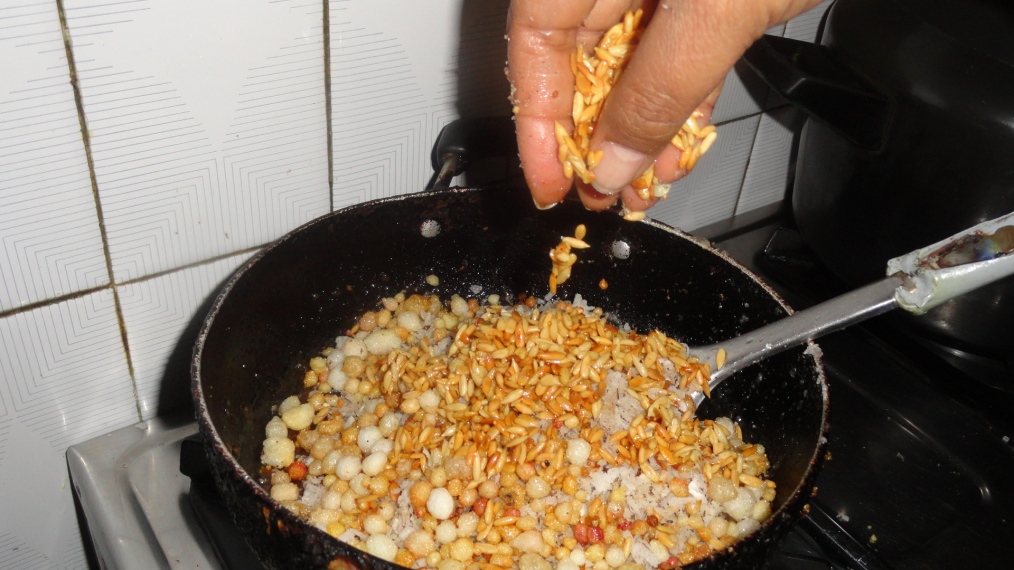
8. Add the Gond(Gum Resin), Coconut, Melon Seeds and Khoya(Dried Whole Milk) to the pan. Mix it thoroughly with the Chashni or the Sugar Syrup. (Final image BELOW )

Image

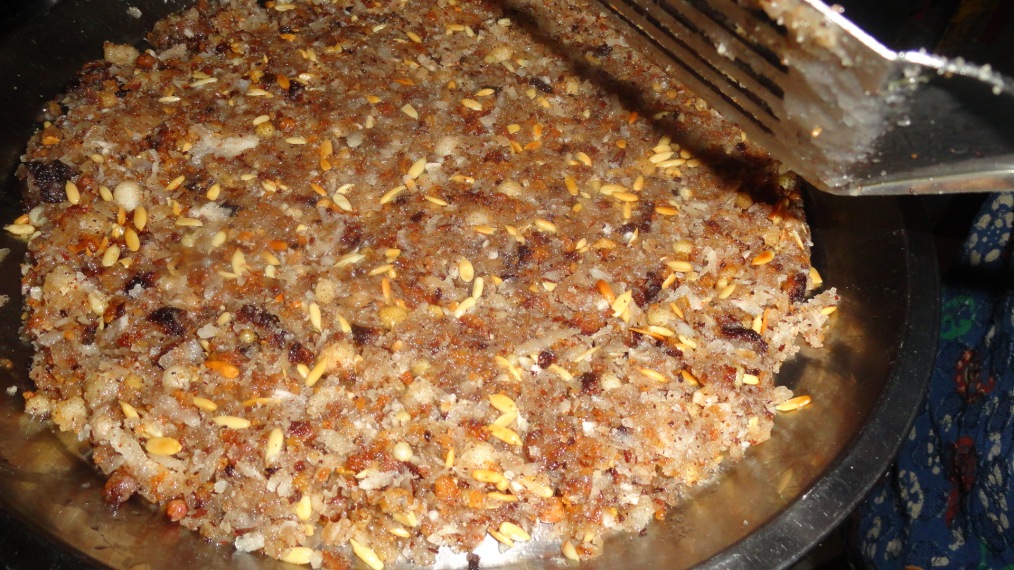
9. Grease any flat surface like a plate or a baking tray and press this mix onto the surface. (Final image BELOW )

Image

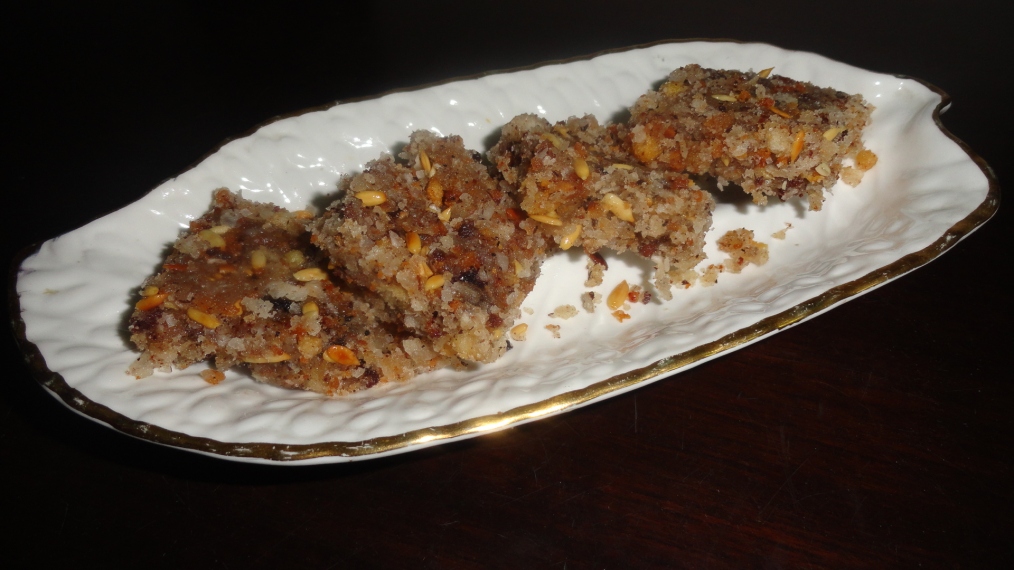
10. After 10 mins. cut the pressed mix into rhombus, square or any preferrable shapes(be creative, use cookie cutters.). And thus your GOND KOPRA BARFEE is ready to be consumed. Store in airtight containers keep the ants away. (Final image BELOW )

Image

**~~~~~~~~~~~~~~~~~~~~~~~~~~~~~~~~~~~~~~~~~~~~~~~~~~~~~~~~~~~~~~~~~~~**

THINGS I LEARNT TODAY:

Whenever I am about to grate something, since childhood my mother’s said, “Dont grate your hand.” Man, she is NOT kidding.

Dont try tasting hot Chashni. The results aren’t pleasant.

Oh and our final product is kinda brownish coz I used homemade Khoya/Mawa(Whole Dried Milk). You’ll get a pretty white silvery result when you use the Khoya/Mawa(Whole Dried Milk) available in the market.

😀

Love!